
Bootstrap 5 Forms
Bootstrap ให้สามประเภทของการจัดรูปแบบ
-
รูปแบบแนวตั้ง (นี้เป็นค่าเริ่มต้น)
- รูปแบบแนวนอน
- รูปแบบอินไลน์
Stacked Form
เราสามารถใช้ Bootstrap กำหนด <input> และ <textarea> โดยใช้คลาส .form-control
-
input type="text" คือ การรับข้อมูลรูปแบบข้อควาท
- input type="email" คือ การรับข้อมูลรูปแบบ email
- input type="password" คือ การรับข้อมูลรูปแบบ password
<div class="container mt-3">
<h2>Stacked form</h2>
<form action="/action_page.php">
<div class="mb-3 mt-3">
<label for="email">Text:</label>
<input type="email" class="form-control" id="text" placeholder="Enter name" name="text">
</div>
<div class="mb-3 mt-3">
<label for="email">Email:</label>
<input type="email" class="form-control" id="email" placeholder="Enter email" name="email">
</div>
<div class="mb-3">
<label for="pwd">Password:</label>
<input type="password" class="form-control" id="pwd" placeholder="Enter password" name="pswd">
</div> |
ผลลัพธ์

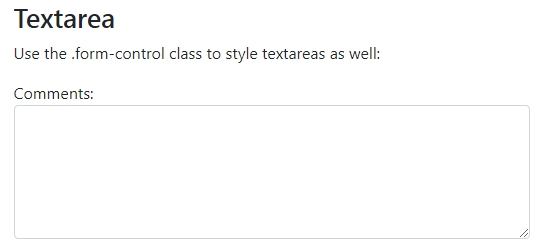
Textarea
โดยใช้คลาส .form-control
<h2>Textarea</h2>
<p>Use the .form-control class to style textareas as well:</p>
<div class="mb-3 mt-3">
<label for="comment">Comments:</label>
<textarea class="form-control" rows="5" id="comment" name="text"></textarea>
</div> |
ผลลัพธ์
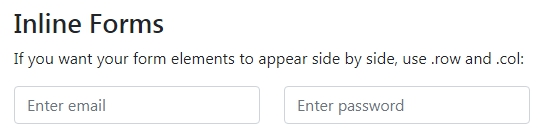
Form Row/Grid (Inline Forms)
ถ้าต้องการให้ฟอร์มอยู่ข้างกัน สามารถทำได้โดยใช้คลาส .row and .col ดังนี้
<h2>Inline Forms</h2>
<p>If you want your form elements to appear side by side, use .row and .col:</p>
<div class="row">
<div class="col">
<input type="text" class="form-control" placeholder="Enter email" name="email">
</div>
<div class="col">
<input type="password" class="form-control" placeholder="Enter password" name="pswd">
</div>
</div> |
ผลลัพธ์
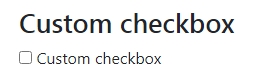
Custom Checkbox
ถ้าต้องการให้ฟอร์มอยู่ข้างกัน สามารถทำได้โดยใช้คลาส .custom-control-input ดังนี้
<h2>Custom Checkbox</h2>
<div class="custom-control custom-checkbox">
<input type="checkbox" class="custom-control-input" id="customCheck" name="example1">
<label class="custom-control-label" for="customCheck">Check this custom checkbox</label>
</div> |
ผลลัพธ์
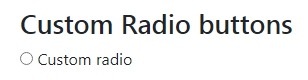
Custom Radio buttons
ถ้าต้องการ Custom Radio buttons สามารถทำได้โดยใช้คลาส .custom-control-input ดังนี้
<h2>Custom Radio buttons</h2>
<div class="custom-control custom-radio">
<input type="radio" class="custom-control-input" id="customRadio" name="example1" value="customEx">
<label class="custom-control-label" for="customRadio">Custom radio</label>
</div> |
ผลลัพธ์
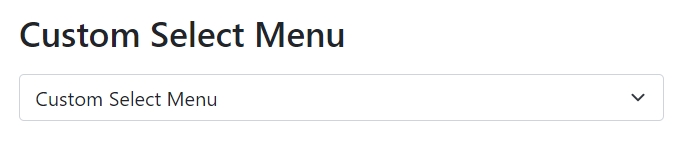
Custom Select Menu
ถ้าต้องการ Custom Select Menu สามารถทำได้โดยใช้คลาส .form-selectดังนี้
<div class="container mt-3">
<h2>Custom Select Menu</h2>
<select class="form-select mt-3">
<option selected>Custom Select Menu</option>
<option value="นาย">นาย</option>
<option value="นางสาว">นางสาว</option>
</select>
</div> |
ผลลัพธ์
Button Styles
ถ้าต้องการ Button Styles สามารถทำได้โดยใช้คลาส .btn ดังนี้
<h2>Button Styles</h2>
<button type="button" class="btn">Basic</button>
<button type="button" class="btn btn-primary">Primary</button>
<button type="button" class="btn btn-secondary">Secondary</button>
<button type="button" class="btn btn-success">Success</button>
<button type="button" class="btn btn-info">Info</button>
<button type="button" class="btn btn-warning">Warning</button>
<button type="button" class="btn btn-danger">Danger</button>
<button type="button" class="btn btn-dark">Dark</button>
<button type="button" class="btn btn-light">Light</button>
<button type="button" class="btn btn-link">Link</button> |
ผลลัพธ์
